Archive for the ‘Cooking’ Category:

Get Your Grill On with an Electric Rotisserie!

Love hosting barbecues? Want to add a delicious twist to your grilling game? Then an electric rotisserie is just what you need.

What is an electric rotisserie, you ask? Well, it’s a cooking tool that allows you to roast meat or poultry on a spit, which rotates over an electric heating element. The spit rotates continuously, ensuring that the meat is evenly cooked and juicy on all sides.

Electric rotisseries come in various sizes and designs, from countertop models for your kitchen to larger ones for outdoor use. They also have different features, such as adjustable temperatures and automatic shut-off timers, making them easy to use for any level of grill master.

So why should you consider getting an electric rotisserie? Here are three reasons why:

1. Cooking Perfection

If you’ve ever struggled with unevenly cooked meat or poultry on the grill, an electric rotisserie can solve that issue. Since the spit rotates continuously while cooking, it guarantees even cooking, ensuring a juicy and delicious meal every time. Plus, it frees up space on your grill, allowing you to cook other items simultaneously.

2. Versatility

An electric rotisserie is not just for cooking whole chickens or large cuts of meat. You can cook just about anything on a rotisserie, including fish, vegetables, and even fruit. The possibilities are endless, and the results are always delicious.

3. Healthier Cooking

Using an electric rotisserie for cooking is healthier than other methods, as it allows the fat to drip off the meat, reducing the overall fat content. It’s also a great way to cook meat without using oil, making it a healthier alternative to frying.

But how do you use an electric rotisserie? It’s simple. Here are some steps to follow:

  1. Season your meat or poultry with your preferred seasoning or marinate for at least an hour before cooking.
  2. Preheat your electric rotisserie to the desired temperature and assemble the spit according to the instructions.
  3. Place your seasoned meat or poultry on the spit, ensuring that it’s balanced for even cooking.
  4. Secure the spit in place and turn on the electric rotisserie.
  5. Monitor the cooking temperature and adjust if necessary.
  6. Once it’s done cooking, turn off the electric rotisserie and remove the spit.
  7. Let the meat rest for a few minutes before carving and serving.

And just like that, you have a delicious meal cooked to perfection.

An electric rotisserie is a great addition to any grilling enthusiast’s toolkit. It offers versatility, even cooking, and healthier results – all of which enhance the overall grilling experience. So get your grill on and try out an electric rotisserie today.

Why Every Kitchen Needs a Measuring Cup for Liquids

A common mistake most people make in the kitchen is using a regular cup for measuring liquids. Without a proper liquid measurement cup, it is incredibly easy to use more or less than needed, ruining the recipe’s consistency and taste.

A liquid measurement cup is handy and essential in every kitchen to ensure accurate and consistent results.

If you’re looking to bake or cook like a pro, you should own a liquid measurement cup. In this article, we’ll discuss everything you need to know about this kitchen tool.

What is a Liquid Measurement Cup, and How Does It Work?

A liquid measurement cup is a container specially designed to hold liquid ingredients in the kitchen. It comes in various sizes, but the most common are 1 cup, 2 cups, and 4 cups. A measuring cup also features markings on its surface that signify liquid measurements.

The measurement markings show the volume of liquid in metric and imperial units, including cups, milliliters, and ounces. To use the measuring cup, measure your ingredient to the required level and pour into your recipe without the fear of ruining the taste and consistency.

Why is a Liquid Measurement Cup Important?

A liquid measurement cup is essential when blending ingredients for homemade recipes such as baked goods, soups, and sauces. Unlike solid ingredients, liquids do not take a definite shape, making it challenging to measure them accurately without a measuring cup.

When you use the right amount of liquid ingredients as specified in your recipe, it helps ensure the recipe’s proper texture, flavor, and consistency. An accurate measurement also helps you avoid significant recipe setbacks such as a ruined meal, wasting ingredients, and money.

A measuring cup is easy to use, affordable, and requires minimal space to store. It is a must-have kitchen tool for every home cook or professional chef.

Different Types of Liquid Measurement Cups

There are various types of measuring cups for liquids available in stores and online. However, the most common types include glass, plastic, and metal cups.

Glass liquid measurement cups are often transparent, making them easy to read. They are also heat resistant and durable.

Plastic liquid measurement cups are affordable, lightweight, and unbreakable. They are also safe to use with hot or cold liquids.

Metal liquid measurement cups are mostly made of stainless steel, aluminum, or copper. They are also heat resistant, durable, and easy to clean.

How to Use a Liquid Measurement Cup

Using a liquid measurement cup is easy and straightforward. Follow these simple instructions:

  • Place the liquid measurement cup on a flat surface.
  • Pour the liquid ingredient into the cup to an approximation of the required measurement or level.
  • Bend or crouch down to have an eye-level view of the measuring cup surface.
  • Adjust the liquid level until it lines up with the required measurement mark.
  • Gently pour the measured liquid into your recipe.
  • Wash the liquid measurement cup after use.

Conclusion

A liquid measurement cup is a beneficial kitchen tool that can help you achieve accurate and consistent recipe results. It helps measure liquid ingredients to the precise measurement stated in a recipe, avoiding the error of adding too much or too little liquid.

Although different types of liquid measurement cups exist, they all work the same, with each measuring unit appearing on the surface. A liquid measuring cup is also easy to use, affordable, and requires minimal storage space.

If you don’t own one yet, invest in a liquid measurement cup to achieve perfect cooking and baking results every time.

Exploring the Flavors of Mexican Brown Rice

Are you curious about Mexican cuisine? Perhaps you’ve heard of some traditional dishes like tacos, enchiladas, and guacamole, but have you tried Mexican brown rice? This savory and hearty side dish is a staple in Mexican cooking and paired with a variety of main courses.

Mexican brown rice is a flavorful alternative to plain white rice, and it’s also a healthy choice. Compared to its white counterpart, brown rice is a whole grain that contains more fiber, protein, and nutrients such as B vitamins and iron. With its nutty taste and chewy texture, brown rice adds depth to any meal.

To make Mexican brown rice, you start with the same basic steps as cooking regular brown rice. Add one cup of rice and two cups of liquid, such as water or chicken broth, to a pot. Bring it to a boil, then lower the heat and let it simmer for 45 minutes or until tender. The difference comes in the seasonings that give this dish its distinctive flavor.

One of the key ingredients in Mexican brown rice is tomato. You can use fresh tomatoes or canned diced tomatoes, depending on what you have on hand. Simply add them to the pot along with some garlic, onion, and chili powder, which adds a smoky and slightly spicy taste that complements the sweetness of the tomato.

Some versions of Mexican brown rice call for corn, which gives the dish a pop of color and sweetness. You can use fresh corn kernels or canned corn that has been drained. Add it to the pot during the last five minutes of cooking so that it doesn’t get too mushy.

Another way to add flavor to Mexican brown rice is by using chicken or vegetable broth instead of water. Broth infuses the rice with additional flavor and seasonings, making it more savory and fragrant. You can make your own broth or use store-bought, as long as it doesn’t contain any added salt.

Once the rice is cooked and the flavors have melded together, you can fluff it with a fork and serve it alongside your favorite Mexican-inspired dish. Mexican brown rice pairs particularly well with spicy dishes like chili con carne or barbacoa, as it helps to balance out the heat.

If you’re feeling adventurous, you can also use Mexican brown rice as a base for a flavorful salad. Add chopped peppers, onions, and cilantro, along with a squeeze of lime juice, for a fresh and zesty side dish. You can also use leftover Mexican brown rice to make homemade burritos or rice bowls, which are both satisfying and easy to make.

Mexican brown rice is a tasty and nutritious side dish that is easy to prepare and pairs well with a variety of dishes. Its rich flavor and chewy texture make it a crowd-pleaser, and its health benefits make it a smart choice. Why not try it out for your next Mexican-inspired meal? You won’t be disappointed.

How to Properly Use Dry Measuring Cups for Baking

Baking is both a science and an art, and precise measurements are essential to achieve the perfect balance of taste, texture, and moistness. One of the most important tools for measuring baking ingredients is the dry ingredients measuring cup.

Dry ingredients measuring cups are specifically designed to measure dry ingredients such as flour, sugar, and baking powder. Unlike liquid measuring cups, which have a spout for pouring, dry measuring cups have a flat edge that needs to be leveled off with a knife or spatula to ensure accurate measurements.

To properly use dry measuring cups, follow these steps:

Choose the Right Cup

Dry ingredients measuring cups come in different sizes, usually 1/4, 1/3, 1/2, and 1 cup. Make sure to choose the right size for the ingredient you’re measuring. For example, if the recipe calls for 1 cup of flour, use the 1 cup dry measuring cup.

Fluff Up the Ingredient

Before measuring, it’s important to fluff up the ingredient with a fork or spoon to break up any clumps and aerate it. This will ensure that the ingredient is evenly distributed and the measurement is accurate.

Scoop and Level

Using the dry measuring cup, scoop the ingredient from the container and level it off with a flat edge, such as a knife or spatula. Make sure to press down firmly to flatten the ingredient and remove any excess. Repeat this process until you have the desired amount.

Don’t Pack

It’s essential that you do not pack the ingredient into the measuring cup. Packing can cause the ingredient to become compacted and result in too much being measured. Simply spoon the ingredient into the cup and level it off.

It’s important to note that dry ingredients measuring cups should only be used for dry ingredients and not for liquids. Liquid measuring cups are designed to be used for liquids and have a spout for pouring.

Another important tip when using dry measuring cups is to make sure you’re using the right measuring system. In the United States, the standard measuring system is cups, tablespoons, and teaspoons. However, in other countries, the metric system is used, which measures in milliliters and grams. Make sure to convert the measurements if necessary and use the appropriate measuring system.

Cleaning dry ingredients measuring cups is simple. After use, wash them with warm, soapy water and dry thoroughly. Avoid using the dishwasher as this can damage the measuring cups.

Dry ingredients measuring cups are an essential tool for accurate baking measurements. Follow the steps of choosing the right cup, fluffing up the ingredient, scooping and leveling, and not packing to ensure precision in your recipe. Remember to use the right measuring system, and clean the cups properly after use. Happy baking.

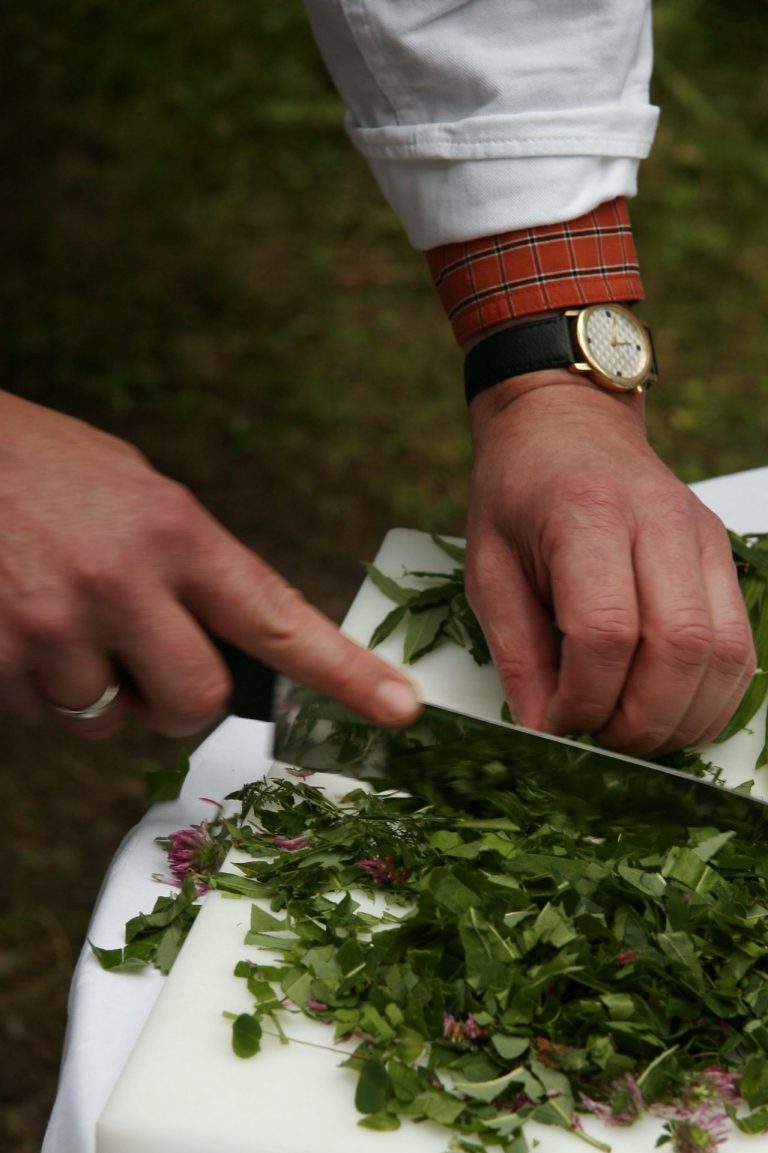
The Benefits Of Taking Cooking Classes Online

Cooking classes have long been a great way to gain knowledge and hone culinary skills. In recent years, however, taking cooking classes online has become an increasingly popular option for people looking to enhance their cooking skills without the hassle of attending an in-person class. In addition, cooking classes online can offer many benefits compared to their traditional counterpart, including convenience, cost savings, and greater variety. Here we will look at some advantages of taking cooking classes online.

Convenience

One of the main benefits of taking cooking classes online is that it can provide unparalleled convenience. Online courses allow you to access course materials anytime and anywhere via the internet. As a result, you don’t need to worry about traveling to a physical classroom or dealing with scheduling conflicts. Plus, you can review course materials as much as you need to master a recipe or technique.

Cost Savings

Online cooking classes are often much more affordable than traditional classes. For example, you won’t have to worry about paying for gas, parking, or other costs associated with attending an on-site class. Additionally, many online courses offer discounts if you opt for a longer-term subscription to save even more money when taking cooking classes online.

Greater Variety

Another advantage of taking cooking classes online is the wide variety of topics available. Online courses typically feature lessons from around the world, including popular cuisines like Italian, Mexican, Chinese, Indian, and more. This means that you will be able to learn how to make various dishes from different cultures, expanding your cooking knowledge and skill set.

How to Choose the Right Online Cooking Class

When it comes to selecting an online cooking class, there are a few things that you should consider. First and foremost, ensure that the course is taught by a qualified professional with experience teaching online courses. You’ll also want to read the course reviews to see what other students have said about their experiences. Additionally, look for a course that offers plenty of video demonstrations or tutorials to understand how to replicate recipes in your own kitchen. Finally, be sure to choose a course that fits within your budget and schedule.

Conclusion

Cooking classes online can offer many advantages compared to traditional in-person courses. The convenience, cost savings, and greater variety of topics available make it an attractive option for anyone looking to expand their culinary skill set. So why not try it and see what new recipes or techniques you can learn?

Which Is The Best Indian Cookbook For Beginners?

If you’re thinking about learning how to cook Indian foods but don’t know where to start, you may be wondering which cookbooks are the best. The answer is easy, but you’ll need to research to find the right cookbook. Luckily, there are some great options out there.

Best Indian Cookbook for Beginners

Madhur Jaffrey’s Quick & Easy Indian Cooking

When it comes to food and drink, the Indian subcontinent has got some swagger on the menu. Fortunately, we have the likes of Madhur Jaffrey, a well-known chef, and author with a knack for bringing the exotic to our doorstep. Indeed, she has many culinary accolades to her name but is most widely known for being one of the most popular foodies on television. Her first cookbook is even deemed worthy of induction into the James Beard Foundation’s Cookbook Hall of Fame.

Laxmi Khurana’s classic curry cookbook

If you’re looking for a cookbook with authentic Indian recipes, Laxmi Khurana’s classic curry cookbook is a great option. She shares 100+ traditional home-cooked dishes. There are also recipes for starters, chutneys, snacks, and desserts.

This book will help you create delicious and nutritious meals if you’re just beginning to cook. The recipes are simple and easy to make. Some of the recipes require very few ingredients. Other recipes are more complex. The book also includes travel tips.

Lord Krishna’s Cuisine: The Art of Indian Vegetarian Cooking

A lot has been said about the kitchen aficionado and his or her culinary creations. However, a lot of people aren’t so sure that they’re getting their money’s worth. This is where a good cookbook comes into play. With hundreds of recipes, you’re bound to find at least a few that you’ll love. The cookbook is also chock full of useful technical tips and tricks. So whether you’re just getting started or are a seasoned pro, there’s something in there for everyone.

Anupy Singla’s Indian for Everyone

Anupy Singla’s Indian for Everyone cookbook is an easy way to make Indian food accessible to a wide audience. She includes quick and simple vegan and vegetarian options and tips on making healthier eating choices.

Singla’s recipes include India’s traditional flavors and regional styles from various parts of the country. The recipes are organized into sections on dals, vegetable curries, bread, desserts, and street foods. This book is a great resource for beginner and seasoned cooks alike.

Asma Khan

When you think of Asma Khan, you might think of the Darjeeling Express restaurant, which has topped the rankings of the best restaurants in London. But did you know that Asma also has her cookbook?

In her cookbook, Asma Khan shares recipes that are approachable and delicious. She explains the foundations of flavors and shows how to use spices. Her Best Indian Cookbook for Beginners is divided into celebratory feasts, quick and easy family feasts, and more. Whether you’re a novice or a pro, you’ll find something in Asma’s Indian Kitchen.

All You Need To Know About Combi Ovens

A combi oven commercial is a great investment for any business that wants to increase their food production. These ovens are multi-functional and can be used for a variety of purposes, including baking, roasting, toasting, and steaming. In this article, we will discuss the three main points that you need to know about combi ovens before making a purchase.

First, combi ovens are versatile. These ovens can be used for a variety of cooking tasks, and many models come with specific modes with which you can prepare different types of dishes. For example, some models have options for baking bread or pastries, roasting meats and vegetables, croissants, bagels, waffles, and many more. Additionally, combi ovens give you the ability to roast continuously, using multiple trays of food for multiple batches.

Second, because combi ovens use steam along with convection heating technology, they offer moist cooking results without having to leave your home or prepare any additional ingredients. In addition to being versatile in their cooking options, combi ovens are also versatile in their design.

Ovens can be designed with a variety of different features and components to make them easier to use or more user-friendly. For example, some models come with an internal water tank that you fill manually before every use. Other models include an auto water refill function that automatically refills the water tank from your home’s hot water supply.

Some combi ovens have a built-in microwave option that can be used for additional cooking options, such as rapid thawing of frozen foods. Some oven models also include an automatic cleaning system with an easy-to-use push button control panel and sensor technology that provides you with the best possible cleaning cycle every time.

How do they work?

In general, combi ovens combine three types of cooking methods to give you greater flexibility and efficiency in the kitchen. These include:

  1. Convection cooking — Hot air is circulated evenly around the oven cavity to cook your food faster and more evenly.
  2. Microwave energy — Microwaves bounce off the food inside the oven cavity, heating and cooking it quickly.
  3. Steam heat generation — Steam created within the oven chamber enables you to cook foods without adding any liquid, resulting in tender and succulent meats, poultry and fish.

Combi ovens are easy to use as well. Simply select the right cooking option for your food and allow the machine to do its thing! You can also set a timer to keep track of how long you want your dish to go.

We hope this information on a combi oven commercial, check online.

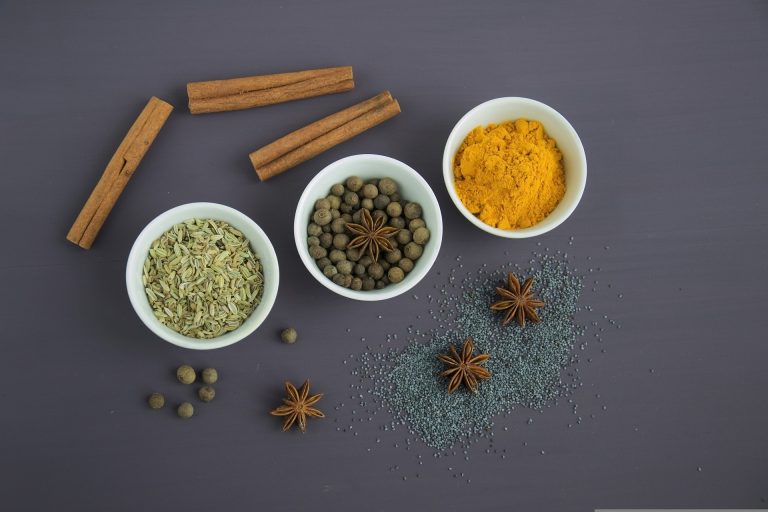
How To Experiment With Different Cooking Seasoning And Flavors

Different cooking seasoning options and flavors can add an unexpected flair to your meals. Here are six tips for experimenting with different seasonings:

  1. Try a new spice mix or blend.
  2. Use different herbs and spices.
  3. Experiment with different types of oils, such as olive oil, vegetable oil, or butter.
  4. Get creative with dried fruits and berries, nuts and seeds, and spices like cumin or chili powder.
  5. Add a bourbon, sake, or other spirits to your dishes for a unique flavor profile.
  6. Try a new cooking technique, such as grilling or roasting instead of frying.

Recognizing and Avoiding Common Seasoning Mistakes

When cooking, it is important to use the right seasonings and flavors to create the perfect meal. However, sometimes people make common seasoning mistakes that can affect the taste of their food. Here are a few tips on how to avoid these mistakes:

  1. Over-seasoning: One common mistake people make when seasoning food is overdoing it. Too much salt, pepper, or other spices can overpower the flavor of the food and make it tough to eat. Try adding just a pinch of each ingredient to achieve the desired flavor instead of using too much.
  2. Using the wrong spice: Not all spices are meant for all foods. For example, blackening spices like paprika or cayenne are meant for meats and should not be used in vegetable dishes. In addition, some spices are not meant to be cooked and should not be used in marinades or sauces.
  3. Over-salting: Salt has long been used as a seasoning, but it can also cause food to become tough after being stored for an extended period. To avoid this, make sure to salt the food only lightly and add it at the last minute; otherwise, you may find that the food becomes tough and chewy.
  4. Over-cooking: Cooking seasoning for too long can cause them to become tough and chewy.

How Can You Make Your Spice Blends?

Many people enjoy experimenting with different spices to create their unique blends. This can be done easily by simply adding ingredients together and seeing what results in you get. Many other spices can be used for this purpose, and the possibilities are virtually endless. Some examples of spices that could be combined include cumin, chili powder, paprika, ginger, garlic, onion powder, oregano, and thyme. Once you have a general idea of what flavors you want to create, it is important to find a blend that works well for you. For example, some people prefer more heat, while others might prefer a milder flavor. It is also important to make sure the spices are fresh and potent before using them in cooking. Many stores carry premixed spice blends or spice mixes that can be used as a starting point for creating your blends.

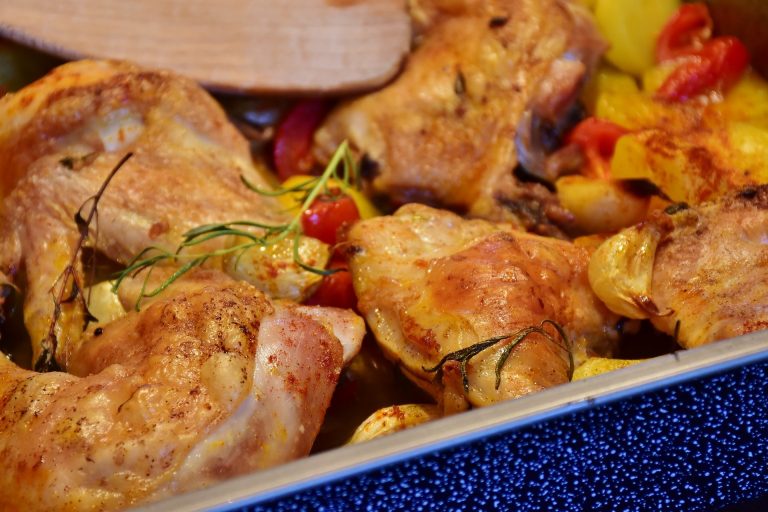
Chicken Casserole With Ritz Crackers: 3 Main Points To Keep In Mind

There are many Chicken Casserole with Ritz Cracker recipes out there, but not all of them turn out well. In this blog post, we will discuss three main points that you should keep in mind when making Chicken Casserole with Ritz Crackers. These tips will help ensure that your Chicken Casserole with Ritz Crackers is delicious and satisfying.

Chicken Casserole with Ritz Crackers is a dish that can be enjoyed by the whole family. It is simple to make and can be tailored to your liking. When making it, there are three main points that you should keep in mind:

The first point to keep in mind is to use quality ingredients. This will ensure that your Chicken Casserole with Ritz Crackers turns out flavorful and delicious. Be sure to use fresh chicken breasts and avoid using frozen or canned chicken.

The second point to keep in mind is to cook the Chicken Casserole with Ritz Crackers until the chicken is cooked through. The overcooked chicken will result in dry, flavorless casserole.

The third and final point to keep in mind is to let the Chicken Casserole with Ritz Crackers cool before serving. This will allow the flavors to meld together and create a delicious dish.

What are the ingredients?

  • Chicken breasts
  • Ritz Crackers
  • Butter
  • Cream of chicken soup
  • Milk
  • Cheddar cheese
  • Onion powder
  • Garlic powder
  • Salt
  • Pepper

How do I make it?

The first step is to preheat your oven to 375 degrees Fahrenheit. While the oven is preheating, you will need to clean and prepare your chicken breasts. Once the chicken breasts are prepared, you will need to crush the Ritz Crackers. The best way to do this is to place them in a zip-top bag and use a rolling pin or meat mallet to gently crush them.

Next, you will need to melt the butter in a large skillet over medium heat. Once the butter has melted, you will need to add the chicken breasts and cook them until they are golden brown on both sides and cooked through.

Once the chicken breasts are cooked, you will need to remove them from the skillet and add the crushed Ritz Crackers to the skillet. You will need to cook the Ritz Crackers in the butter for a few minutes, stirring occasionally, until they are golden brown.

Last, you will need to assemble the casserole by adding the chicken breasts and Ritz Crackers to a large baking dish and topping with the shredded cheese. Then, you will need to bake the casserole for about 15-20 minutes or until the cheese is melted and bubbly.

Chicken Casserole with Ritz Crackers is a dish that can be enjoyed by the whole family.

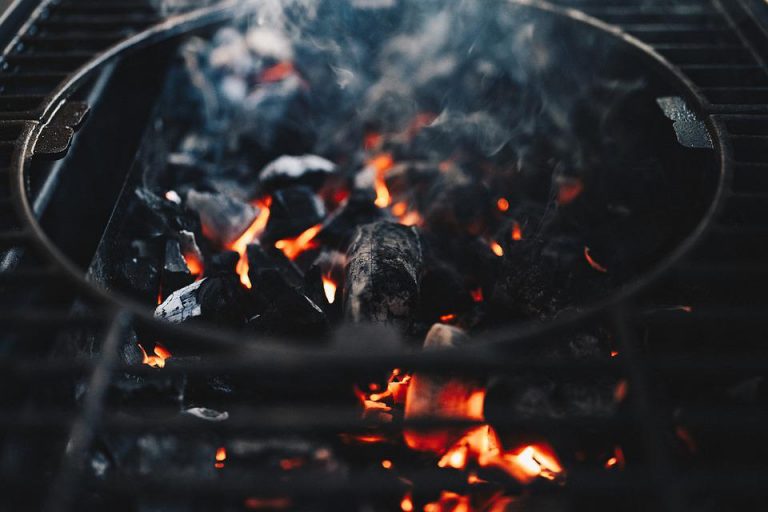
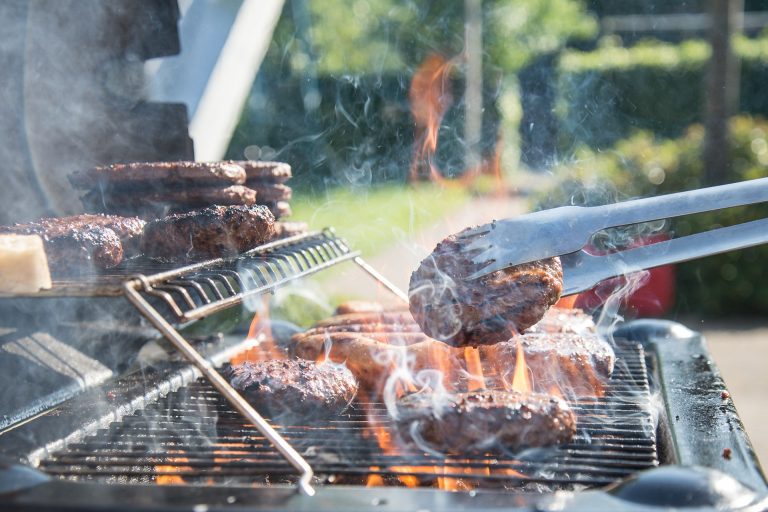
Why Do You Need To Try Portable BBQ Grill?

There are many reasons why you should try a portable BBQ grill. For one, they’re much more convenient than their larger counterparts. You can take them wherever you go, so you’ll never have to worry about finding a spot to cook your food.

Another great reason to try a portable BBQ grill is that they’re usually less expensive than traditional grills. This means that you can save money on your overall grilling budget.

Finally, portable BBQ grills offer a unique cooking experience that you won’t find with other grills. They provide a great way to cook food without dealing with the hassle of using charcoal or propane. This makes them ideal for people who want to enjoy the taste of barbecued food without having to worry about the mess.

Types of Portable BBQ Grills

When looking for a portable BBQ grill, there are two main types to choose from: gas and charcoal. Gas grills are the most popular portable BBQ grill on the market today. They offer a quick and easy way to cook food, and they’re very easy to clean up afterwards.

On the other hand, Charcoal grills take a bit more time to heat up and require more effort to clean. However, they offer a unique flavor that you won’t find with gas grills. So if you’re looking for a true barbecue taste, then a charcoal grill is the way to go.

How to Choose the Right Portable BBQ Grill

Now that you know the different types of portable BBQ grills, it’s time to choose the right one for your needs. The first thing you need to consider is the size of the grill. If you’re planning on cooking for a large group of people, you’ll need a larger grill. However, if you’re only planning on cooking for a few people, then a smaller grill will suffice.

Another important factor to consider is the type of fuel you want to use. For example, some grills run on gas, while others use charcoal. If you’re not sure which type of fuel is right for you, it’s best to consult with a professional before making your final decision.

Finally, make sure that you consider the grill’s price. Portable BBQ grills can be anywhere from hundred dollars to several thousand dollars. If you’re on a tight budget, it’s important to find a grill that fits your needs without breaking the bank.

Once you’ve considered all of these factors, you should have no problem finding the perfect portable BBQ grill for your needs. Just remember to shop around and compare prices before making your final purchase. With a little bit of research, you’ll be able to find the perfect grill at a price that you can afford.