Skip to content
Home
About Us
Contact Us
Menu
Home
About Us
Contact Us
Category: Pets
Dog Bites Texas: Understanding the Laws and Precautions
Everything You Need to Know About Dog Whistles for Sale
What You Need to Know About Dog Whistle Lanyards
Helping Your Furry Best Friend Cope with Being Alone
Best Gifts to Delight Your Pit Bull Loving Friends
Pet Shop Nottingham: What to Look for When Choosing a Store
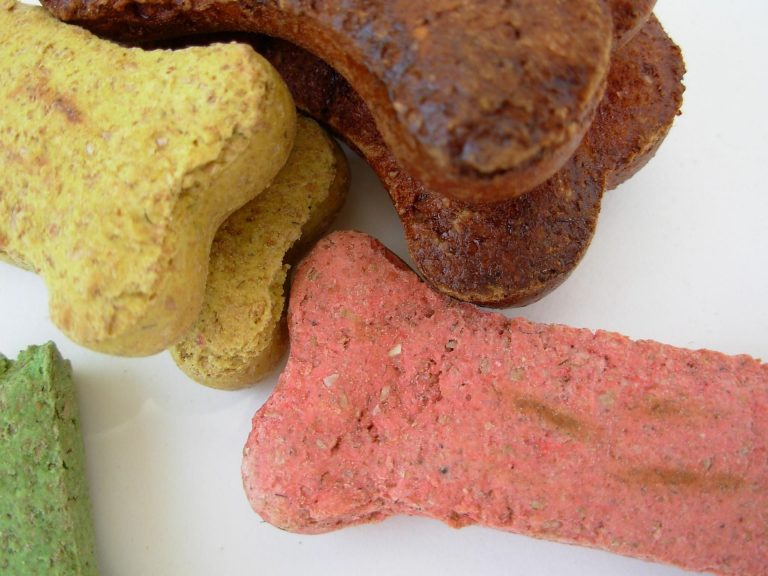
Things To Know Before Shopping For Meat Free Dog Treats
Can A Dog Trainer Help With Separation Anxiety
How To Choose Indoor Cat Grass?
A DIY Rabbit Tunnel System: How To Create One On A Budget
Facts You Need To Know About Pitbull Muscle Tee
The Best Custom Dog Collars On The Market
Tips For Dog Training At Home Using Positive Reinforcement
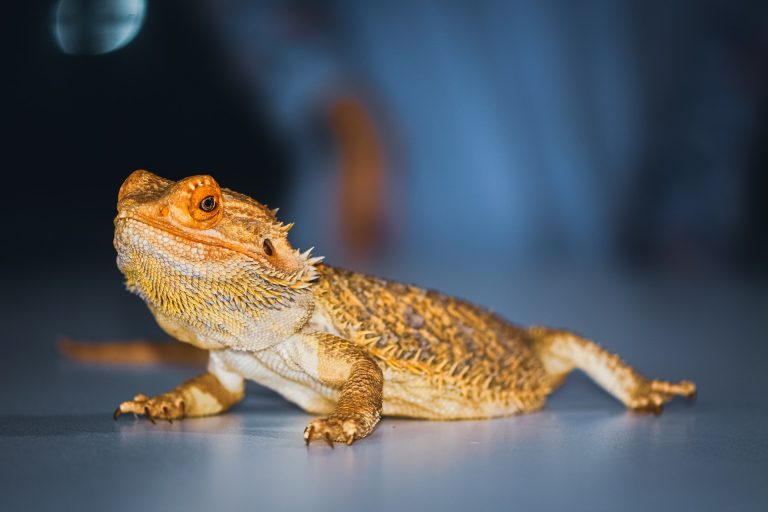
Bearded Dragon Carpet: The Ultimate Guide
What Is A Sheepdog Whistle And How To Use It
Why Use Air Tag Collar For Dogs?
3 Ways To Keep Your Dog Healthy And Happy: Essential Vitamins And Supplements
Why Pet Owners Are Choosing Meat Free Dog Treats Over Traditional Treats
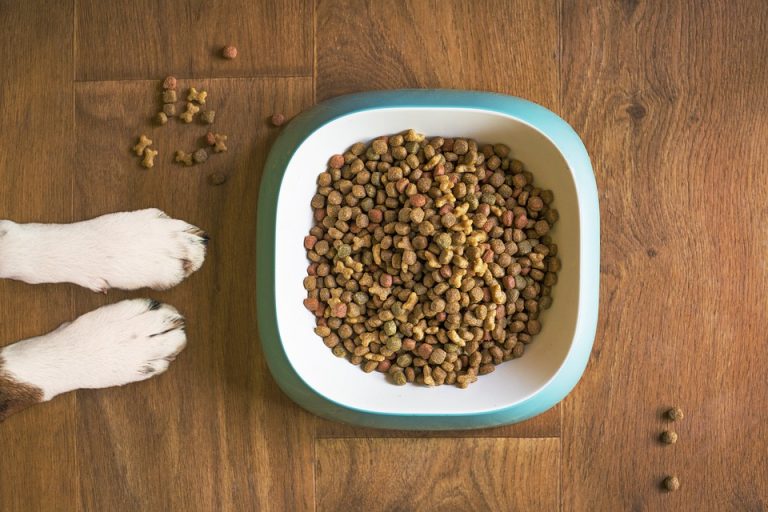
Things To Include In The Best Healthy Dog Food
NSW Cavoodle Breeders: The Top 3 Things You Need To Know
No posts found
Posts pagination
1
2
…
4